OneSignal Integration: Web Push for Private Messages
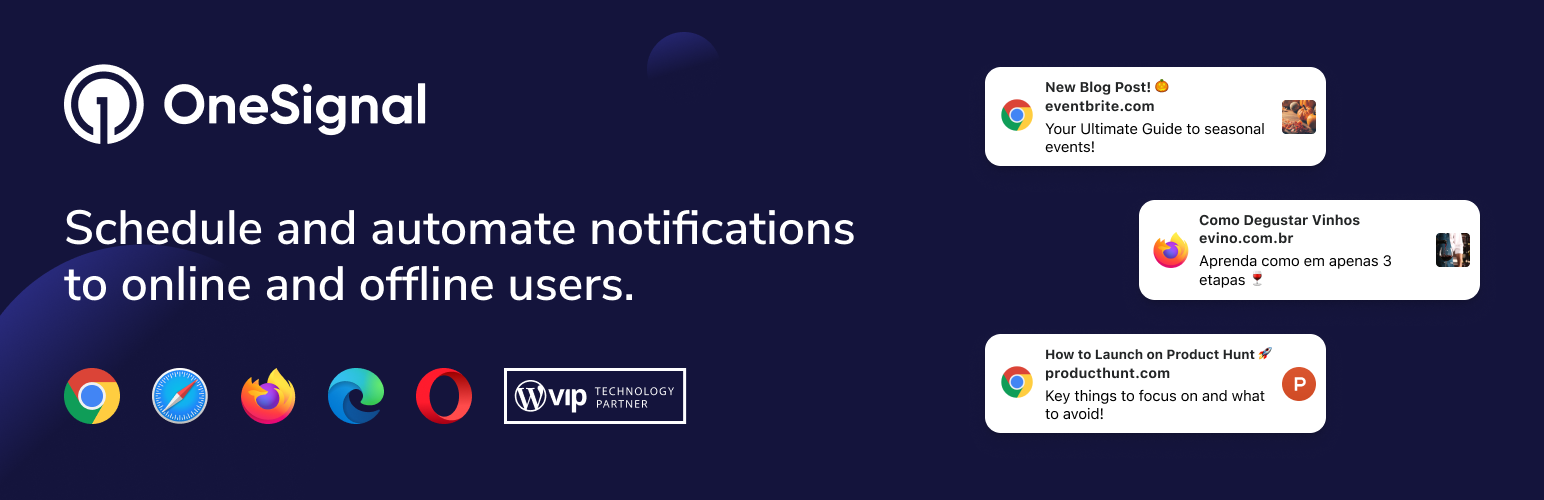
OneSignal is one of the most popular web push notification services for WordPress sites — it handles browser-side subscription, segmentation, and delivery to Chrome, Edge, Firefox, Safari, and Opera. The Better Messages integration plugs OneSignal into the messenger so that every new private message sent in Better Messages can trigger a web push notification to the offline recipient. The recipient sees the notification on the desktop (or their mobile lock screen, if installed as a PWA), clicks it, and lands directly in the conversation.
What the integration adds#
- External User ID mapping — Better Messages automatically associates the WordPress
user_idof every logged-in visitor with their OneSignal subscription as an External User ID. Without this, OneSignal can only send push to anonymous subscriptions; with it, push can be targeted per recipient. - Push per new message — when a new message arrives in a conversation, the integration triggers OneSignal to deliver a notification to all offline recipients of that thread (recipients who have an active subscription and are not currently looking at the thread).
- Per-thread silencing — recipients who have muted a conversation in Better Messages do not receive push for that thread.
- No extra config — once the OneSignal plugin is configured and Better Messages is installed, the integration is automatic; no shortcodes, no admin toggles to forget.
Why use OneSignal vs. the built-in web push#
Better Messages ships its own Web Push add-on on the WebSocket version (no third-party needed). The OneSignal integration is for sites that already use OneSignal for marketing/transactional pushes and want to consolidate everything — chat included — through the same provider, the same opt-in prompt, and the same OneSignal dashboard for delivery analytics.
If you do not already use OneSignal, the built-in Web Push add-on covers the same use case without adding a vendor.
Installation#
- Download OneSignal from the official site and install following the standard WordPress installation process.
- Configure the OneSignal plugin following the official setup guide — site URL, App ID, REST API Key.
- Install Better Messages (any version with WebSocket).
- That's it — the External User ID mapping starts automatically as soon as users are logged in. Push notifications for new messages start firing right away.
Frequently asked questions#
Do I need both OneSignal and the Better Messages Web Push add-on?#
No — pick one. Use OneSignal if you already have it for other notifications. Use the built-in Web Push add-on if you don't want to depend on a third-party provider.
Does this work on Safari / iOS?#
Yes. Safari supports web push notifications (macOS Safari 16+ and iOS 16.4+ once installed as a PWA). OneSignal handles the protocol differences.
Does the integration require WebSocket?#
Yes — the integration is tied to the WebSocket version because that's what powers real-time event triggering. On the free (AJAX) version, OneSignal can still be installed for general site notifications, but the chat won't trigger pushes per message.
What happens if a user uninstalls OneSignal opt-in mid-conversation?#
OneSignal handles the lifecycle — once a user revokes the browser-level push permission, no further notifications are sent. Better Messages does not need to be reconfigured.
See also#
- OneSignal push notifications for Better Messages — full feature write-up
- Progressify integration — for PWA-based push notifications on iOS
- Web Push add-on — Better Messages' built-in web push (no third party)
- Real-time messaging — what the WebSocket version unlocks